
A subdomain is an extension of your primary domain name that lets you build separate sections for your website without purchasing a brand-new domain. For instance, you can use blog.yourdomain.com for content marketing or shop.yourdomain.com for an online store.
Subdomains give you the flexibility to test new site layouts, run staging environments, or launch entirely new projects while keeping your main website completely safe and organized. The setup process is straightforward and takes only a few minutes.
In this guide, you will learn how to create subdomain in Hostinger quickly using hPanel.
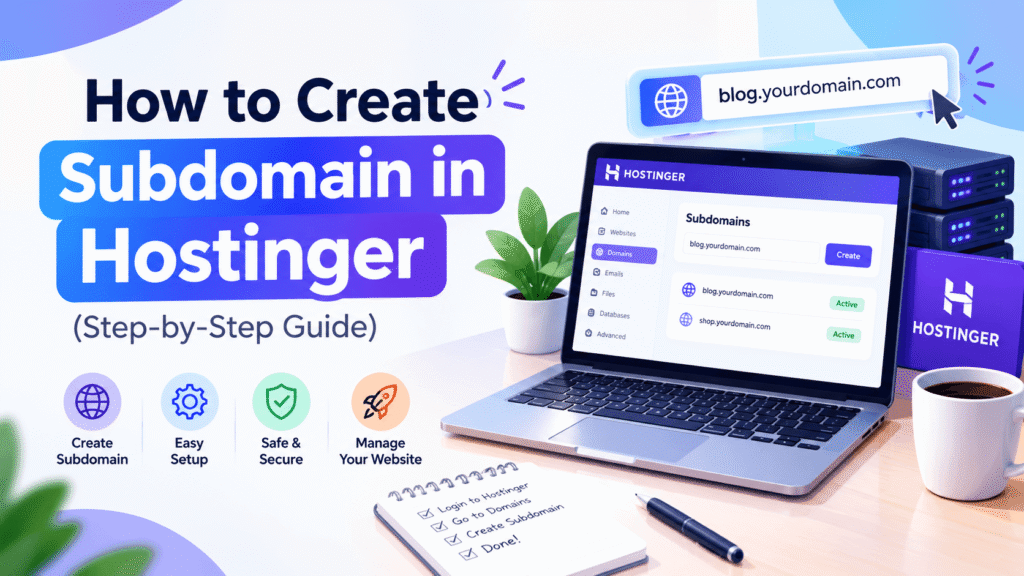
What is a Subdomain and Why Should You Use It?
A subdomain acts as a distinct branch of your main domain. While a subdirectory stores pages within your primary root folder (such as [yourdomain.com/blog](https://yourdomain.com/blog)), a subdomain creates an entirely independent site environment (such as blog.yourdomain.com).
Using a clean subdomain structure helps you manage separate sections for your website without cluttering your core installation. Make sure to follow our SEO checklist for new website after setting it up.
Here are the most common use cases:
- Staging and Testing: Test new plugins, themes, and code updates in a private environment before pushing changes live.
- Running a Dedicated Blog: Build a separate content hub on a lightweight WordPress setup to keep your main site fast.
- Hosting Client or Demo Projects: Showcase design concepts and project prototypes on clean, branded URLs.
- High-Converting Landing Pages: Run focused marketing campaigns or event registrations on isolated pages with custom tracking setups.
How to Create Subdomain in Hostinger (Step-by-Step Tutorial)
Setting up an additional domain prefix in your hosting environment is a quick task that takes only a few clicks. Follow this straightforward walkthrough to create subdomain in Hostinger without running into technical hurdles.
Step 1: Log in to Hostinger hPanel Dashboard
- Open your browser, head over to Hostinger.com, and log in using your registered email and password.
- Once you reach the main client area, click on the Websites tab at the top.
- Locate the domain you want to work on and click the purple Manage button next to it. This takes you directly into your primary Hostinger hPanel dashboard.
Step 2: Open the Subdomains Section
- Look at the left-hand navigation sidebar and click on the Domains dropdown menu.
- From the expanded options, select Subdomains.
- Shortcut tip: You can also type “Subdomains” into the search bar located at the very top of your hPanel screen to jump straight to the management page.
Step 3: Enter Subdomain Name and Folder Details
- Find the Create a New Subdomain section at the top of the page.
- In the Subdomain input field, type your desired prefix (for example,
blog,store, orportal). - Pay attention to the Custom folder for subdomain checkbox right below the text field:
- Default setting (recommended): Leaving the box unchecked automatically assigns the root directory path as
public_html/subdomain_name. This keeps your file manager neat and easy to navigate. - Custom setting: Check this box only if you need to point the subdomain to a specific existing folder inside your directory structure.
- Default setting (recommended): Leaving the box unchecked automatically assigns the root directory path as
Step 4: Click Create and Verify Propagation
- Click the purple Create button to initiate the setup.
- A green notification will appear on the top right corner confirming that your new directory has been generated.
- Scroll down to the List of Current Subdomains table at the bottom of the page to verify that your new domain prefix is active.
- Keep in mind that while it often goes live immediately, global DNS propagation can take anywhere from 10 minutes to a couple of hours. Once active, your directory is ready for a fresh CMS installation.
How to Install WordPress on Hostinger Subdomain
Once you successfully create subdomain in Hostinger, setting up a fresh site takes just a few clicks using the built-in management tools. Complete the hostinger create subdomain process first, then follow these simple steps to install WordPress:
Step 1: Run the WordPress Installation
- From your hPanel dashboard, navigate to the WordPress or Websites section on the left sidebar and click on Auto Installer.
- Click Select under the WordPress tile to launch the setup wizard.
- In the setup window, fill in your website title, administrator email, username, and password.
- Open the Installation Path dropdown menu and ensure you select your newly created subdomain URL (e.g.,
[https://blog.yourdomain.com](https://blog.yourdomain.com)) instead of the primary domain. - Click Next, choose your preferred update settings, and click Install to install WordPress on subdomain files smoothly.
Step 2: Enable Free SSL Certificate
- After the setup finishes, scroll down to the Security section in hPanel and click on SSL.
- Hostinger will automatically run a background check to enable free SSL (Let’s Encrypt) for your subdomain.
- If the status says Not Active, click the three dots next to the subdomain and select Install SSL to force activation.
Common Issues and How to Fix Them
Even when you follow every step on how to create subdomain in hostinger, unexpected configuration hiccups can occur. Most technical glitches in your hostinger subdomain setup stem from standard propagation delays or caching conflicts.
- Subdomain Not Opening Immediately: If your new URL throws a connection error right after completing the hostinger create subdomain process, do not panic. DNS records usually require 10 to 15 minutes to propagate across global servers. Clear your local browser cache, flush your DNS, or test the URL in an incognito window to see if it loads properly.
- SSL Certificate Pending or Not Active: Newly generated directories receive a free Let’s Encrypt SSL automatically, but the verification process can stall if you use external nameservers like Cloudflare. To fix this, head to the Security section inside hPanel, click SSL, locate your inactive subdomain, and select Reinstall or Force HTTPS to trigger a manual certificate issue.
Frequently Asked Questions (FAQ)
How many subdomains can I create in Hostinger?
Most Hostinger shared hosting plans (like Premium and Business) allow you to create up to 100 subdomains per domain. Once you learn how to create subdomain in Hostinger, you can launch multiple staging environments, testing setups, or dedicated blogs without purchasing additional domain names.
2. Is SSL free for subdomains in Hostinger?
Yes, absolutely. Hostinger provides free, lifetime Let’s Encrypt SSL certificates for all your domains and subdomains. After completing the initial hostinger create subdomain process, the system automatically activates and renews your SSL certificate in the background at no extra charge.
3. How to delete a subdomain in Hostinger hPanel?
If you no longer need a subdomain, you can delete it easily:
Log in to your hPanel dashboard and navigate to Websites > Manage.
Click on Domains > Subdomains in the left sidebar.
Scroll down to the List of Current Subdomains table.
Click the Delete (Trash bin icon) next to the unwanted subdomain and confirm the removal.
4. How long does it take for a new subdomain to work?
Once you finish the initial hostinger create subdomain setup in hPanel, the directory is generated instantly. However, DNS records generally take around 10 to 30 minutes to propagate worldwide before the URL loads smoothly across all internet providers.
5. Can I use a separate WordPress theme on my subdomain?
Yes, completely. When you create subdomain in Hostinger, it acts as an independent website directory. You can install a totally separate WordPress CMS, apply a custom theme, and use different plugins without affecting your root domain’s design or data.
6. Does a subdomain share the same hosting resources?
Yes. Every time you create subdomain in Hostinger, it utilizes the storage (SSD/NVMe), RAM, and bandwidth allocated to your main hosting plan. It does not require a separate hosting subscription as long as your total usage stays within your account limits.
Final Thoughts
Mastering how to create subdomain in Hostinger opens up endless possibilities to grow your digital presence without spending an extra dime. Whether you need a secure staging area to test plugins, a separate blog layout, or a dedicated storefront, hPanel gives you complete creative freedom at zero cost.
Now it is your turn to jump into your dashboard and launch your new site section!
Did you run into any setup hiccups or have questions about configuring your SSL? Drop a comment below with your feedback, and share this tutorial with fellow creators building their next project.